Hardware & Setup
The first half of this class is taught using the Teensy 4.1 and Teensy 4.x Audio Shield. I recommend purchasing these boards without pre-soldered pins so that you have more flexibility in how you will use them. Here is my example configuration that is flexible and compact.
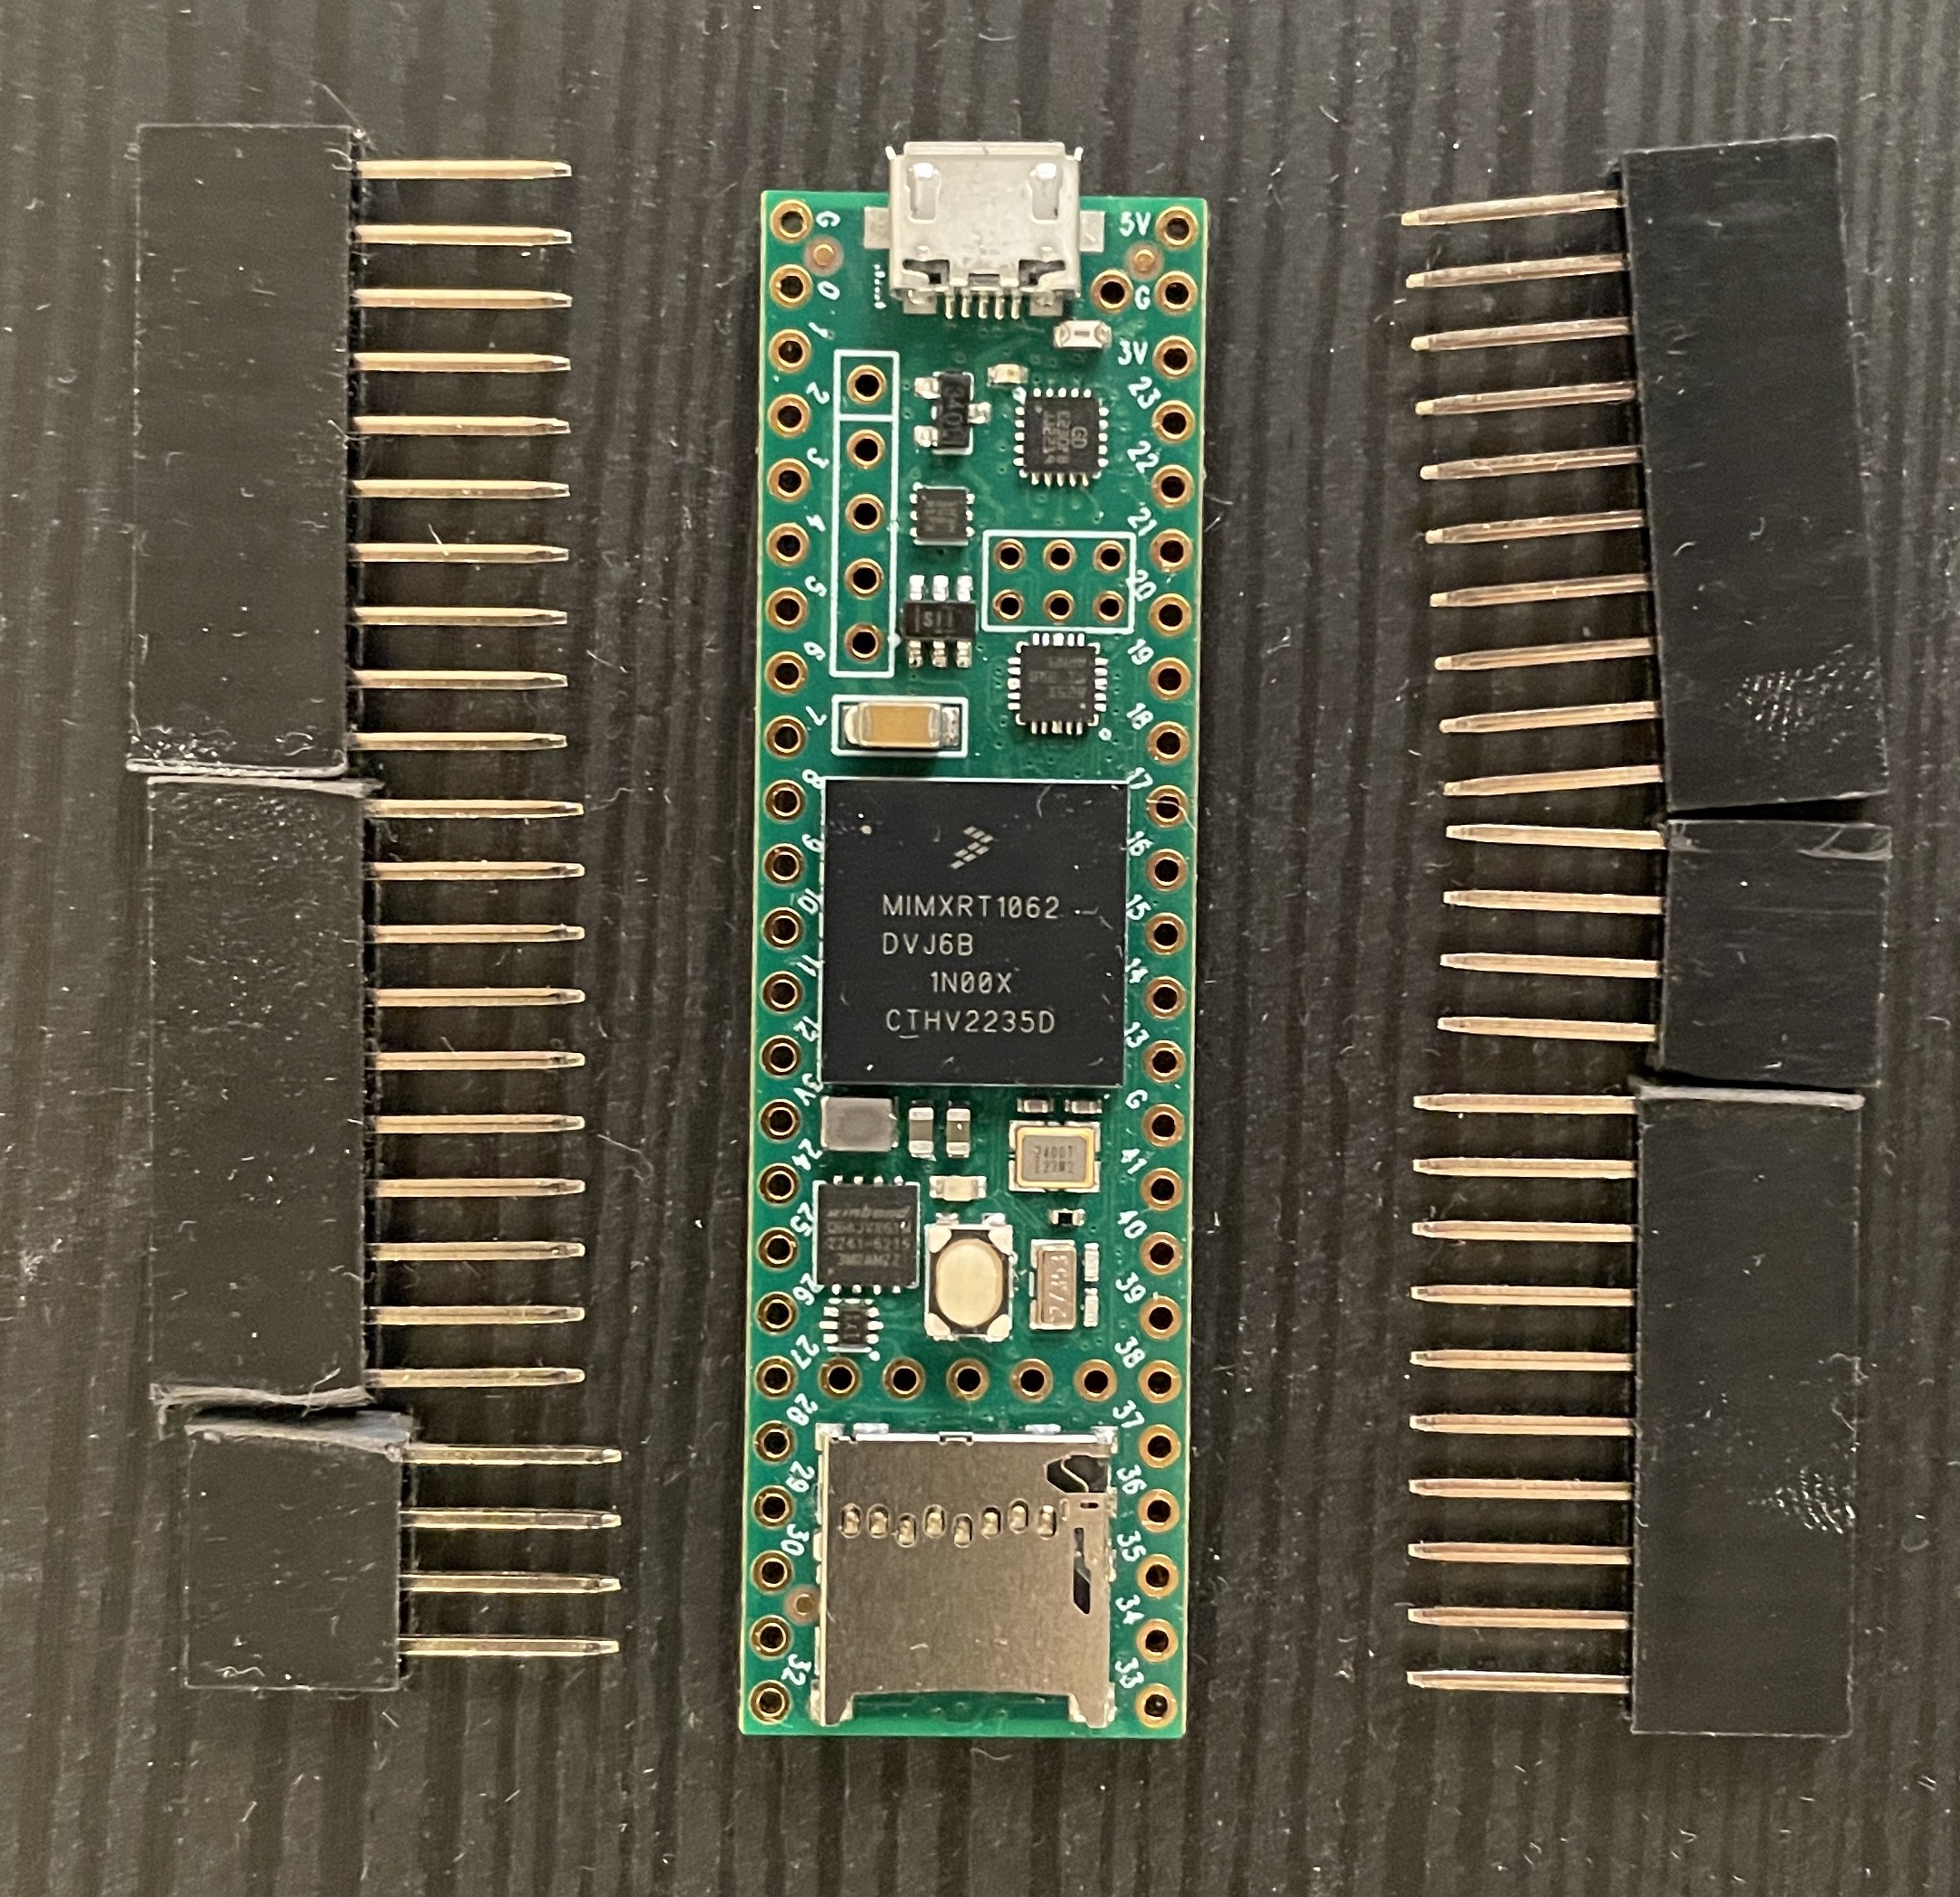
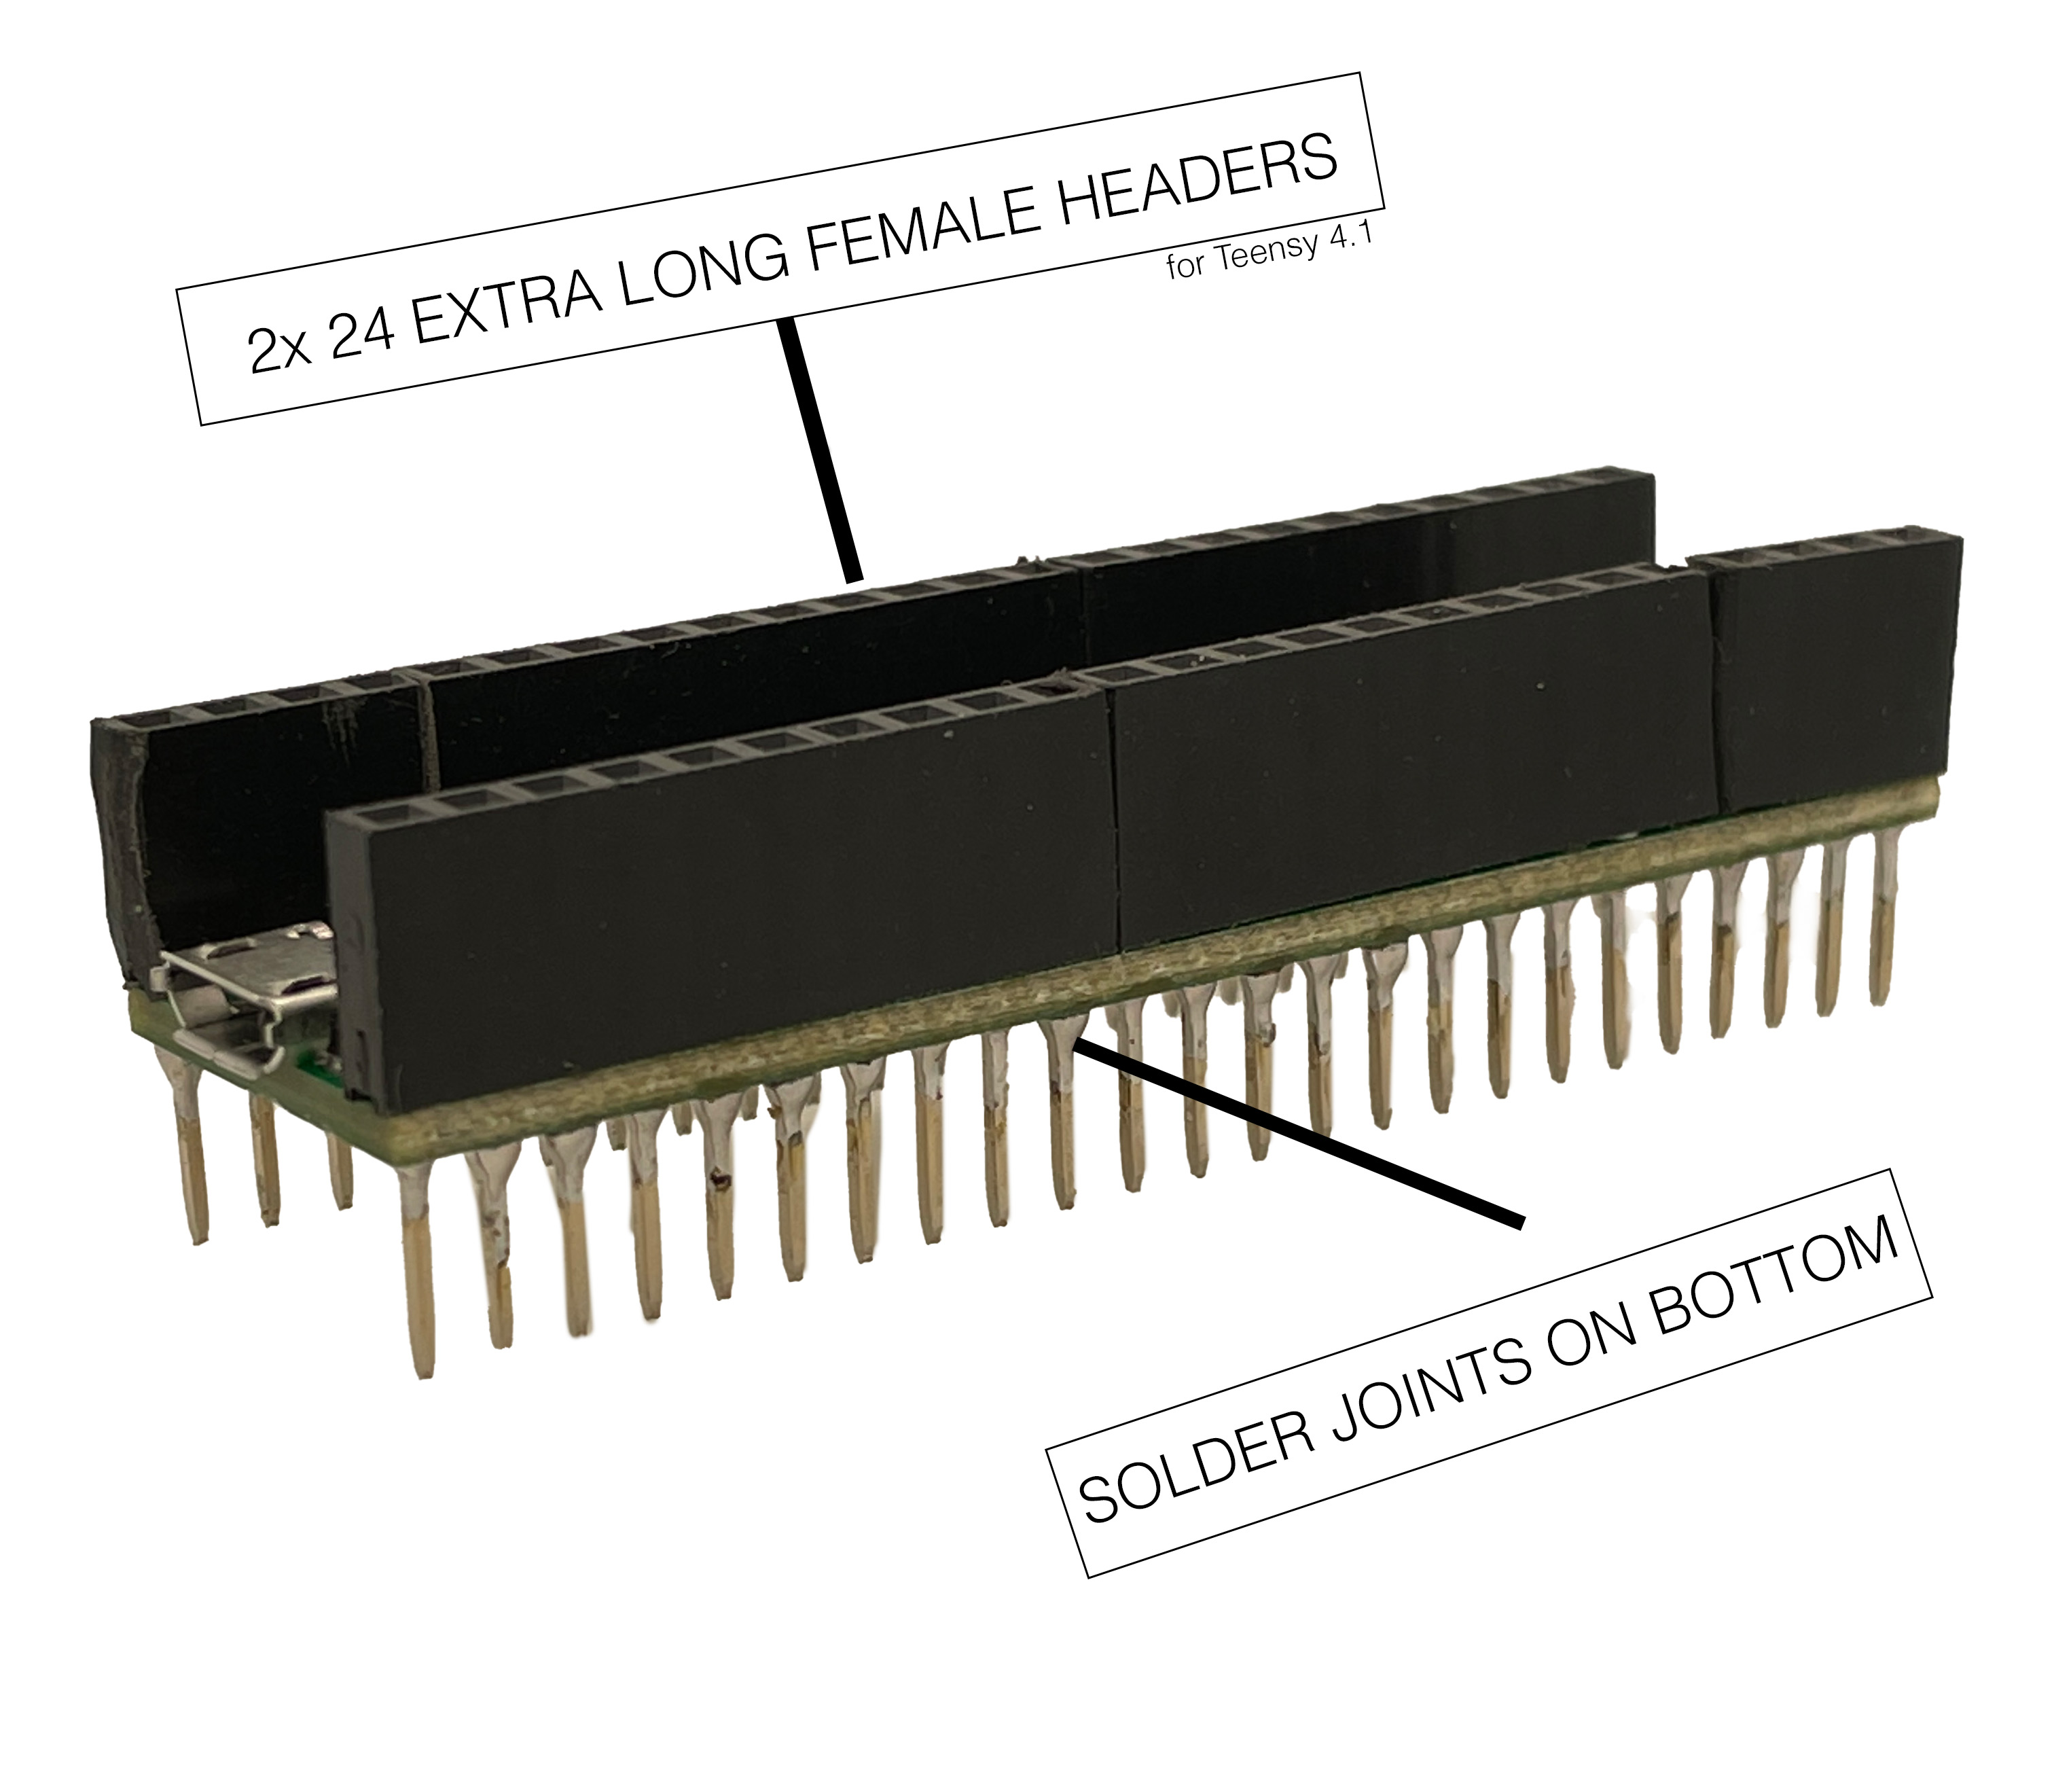
Teensy 4.1 with ‘Extra Long’ Stacking Female Headers
Solder extra long stacking header pins to your Teensy 4.x board. The solder should be on the bottom side of the board. You may need to sand down the adjacent edges of the headers to get them to seat properly next to each other. For the Teensy 4.0 you will need 2 sets of 14x1 headers, and for the Teensy 4.1, you will need 2 sets of 24x1 headers.
Do not snip off the excess pin length!!
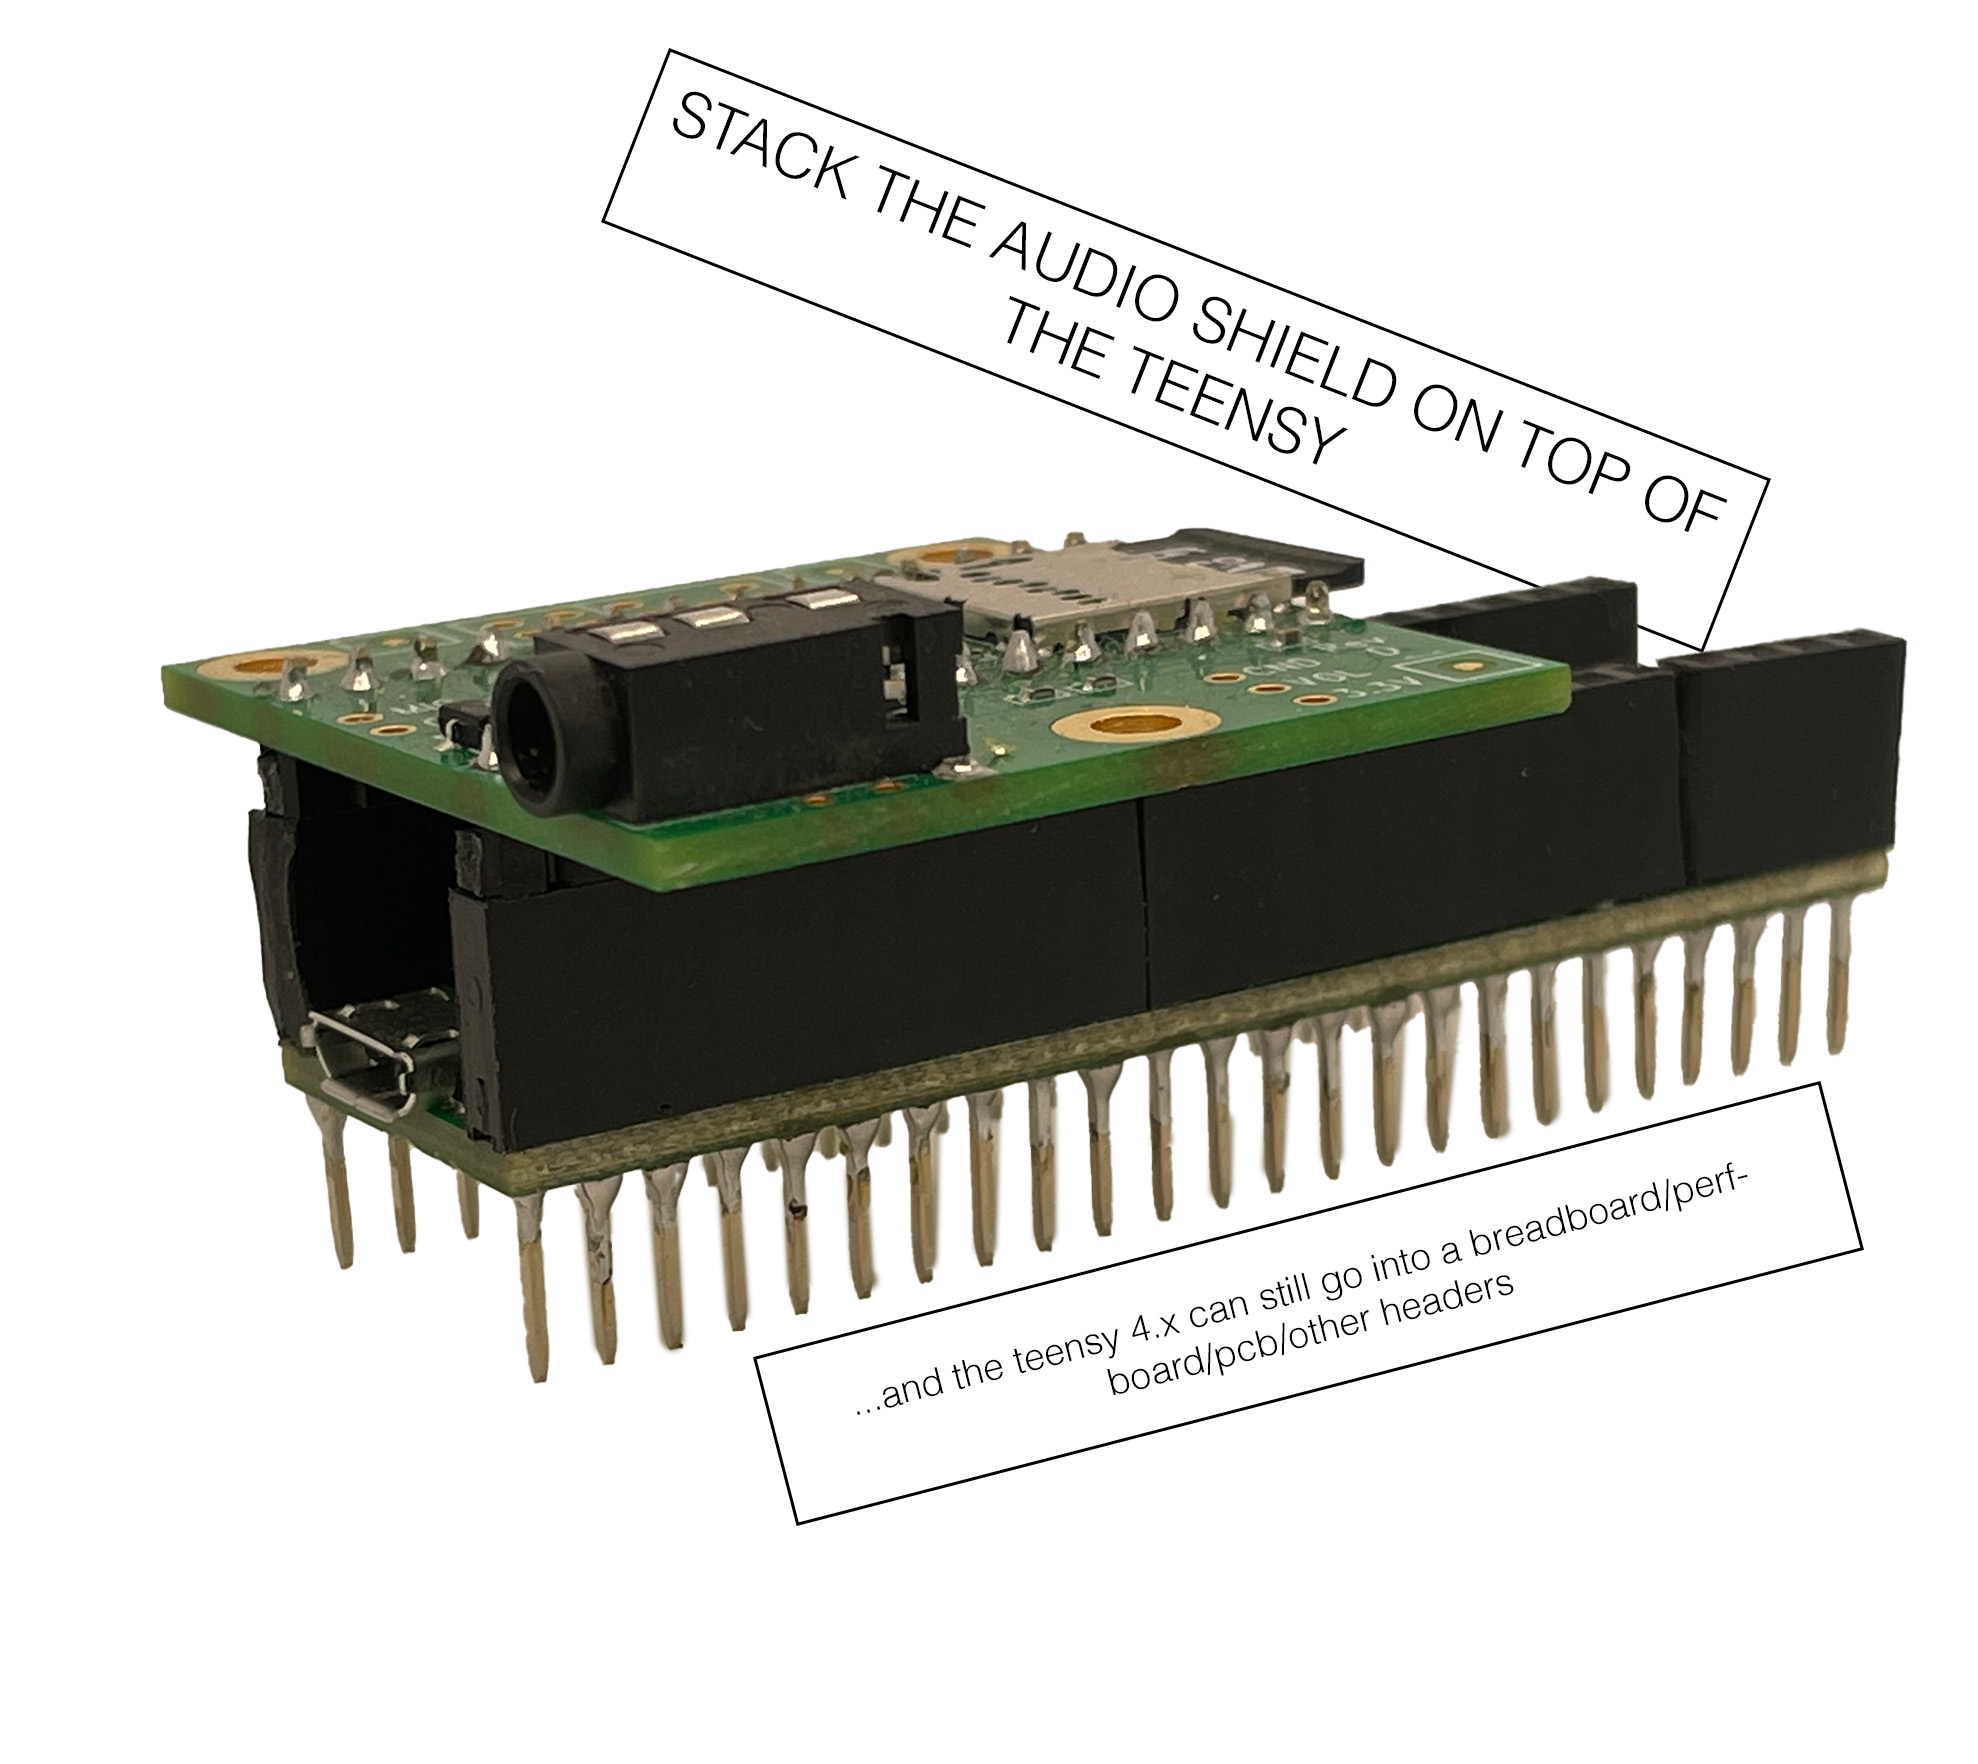
We are using these extra long pins so that it will be possible to insert the pins into a breadboard, and also stack the audio board on top of the teensy itself.
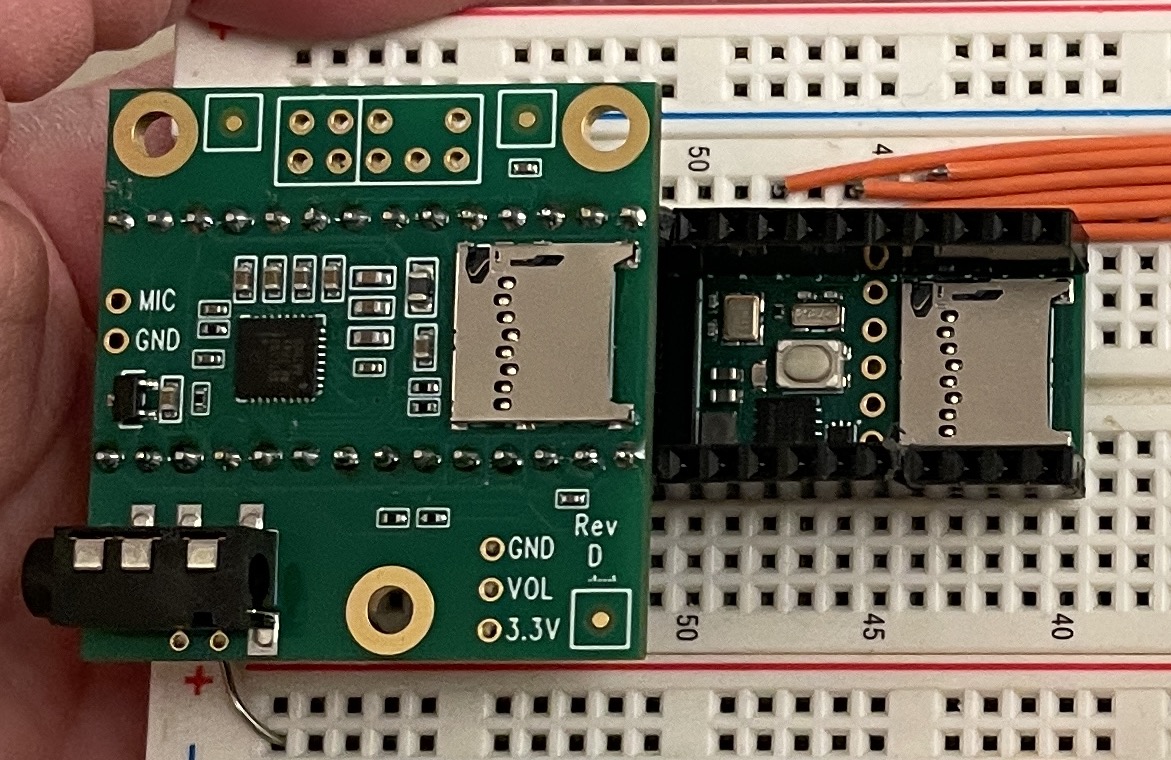
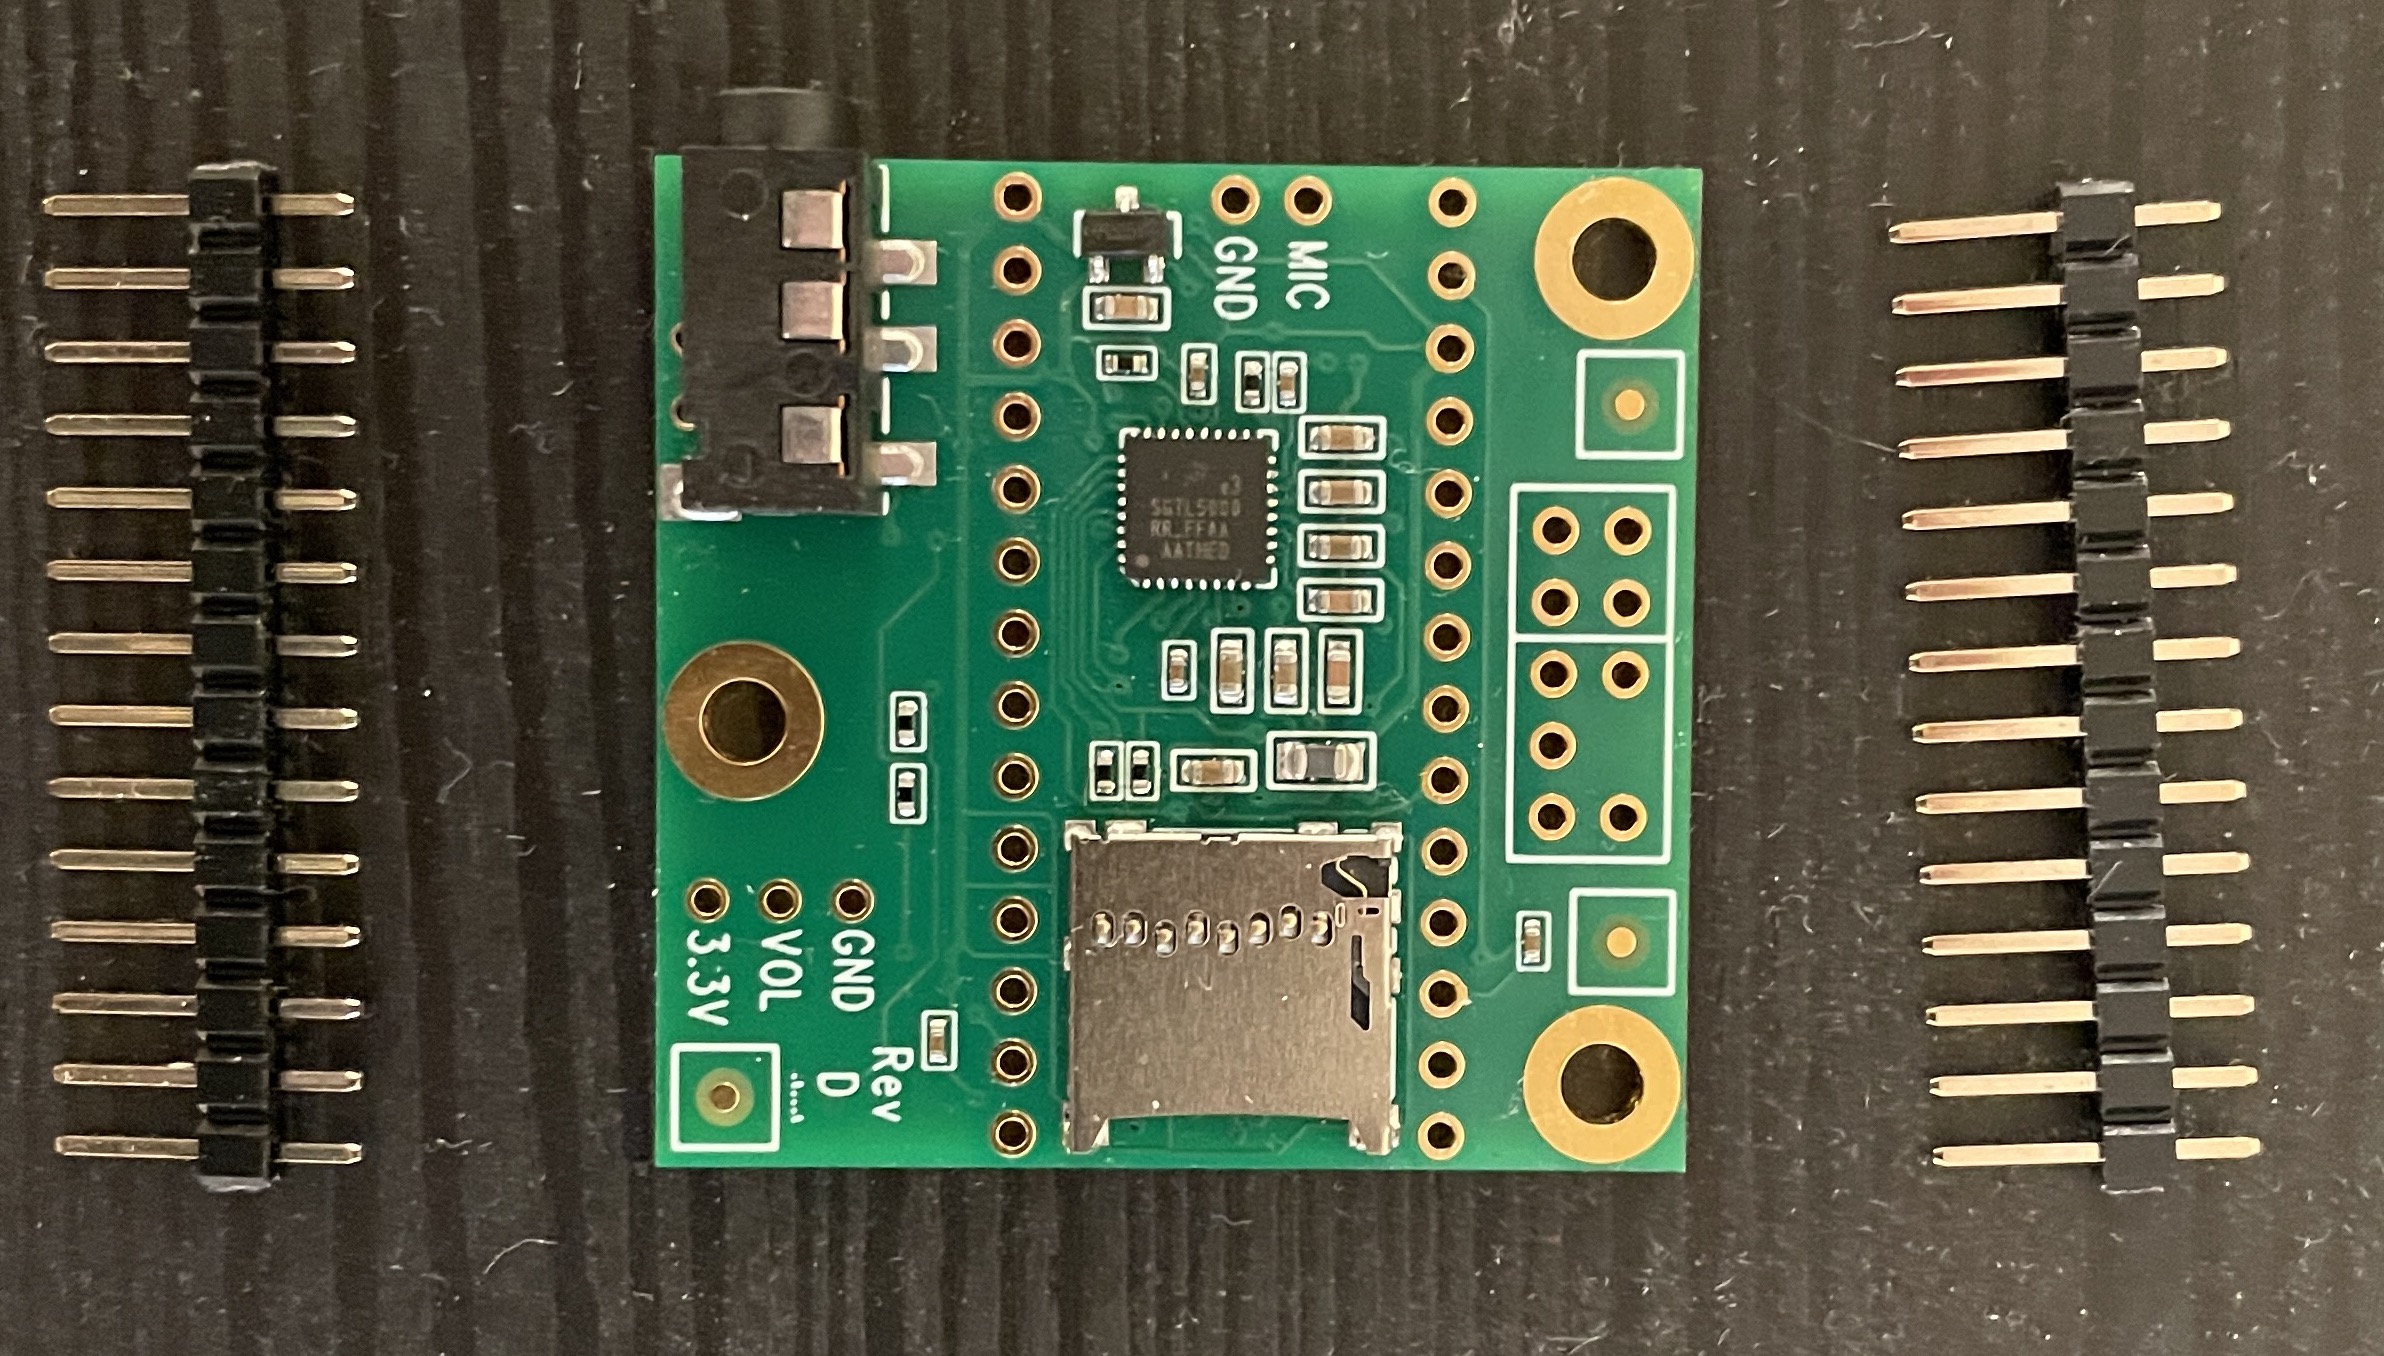
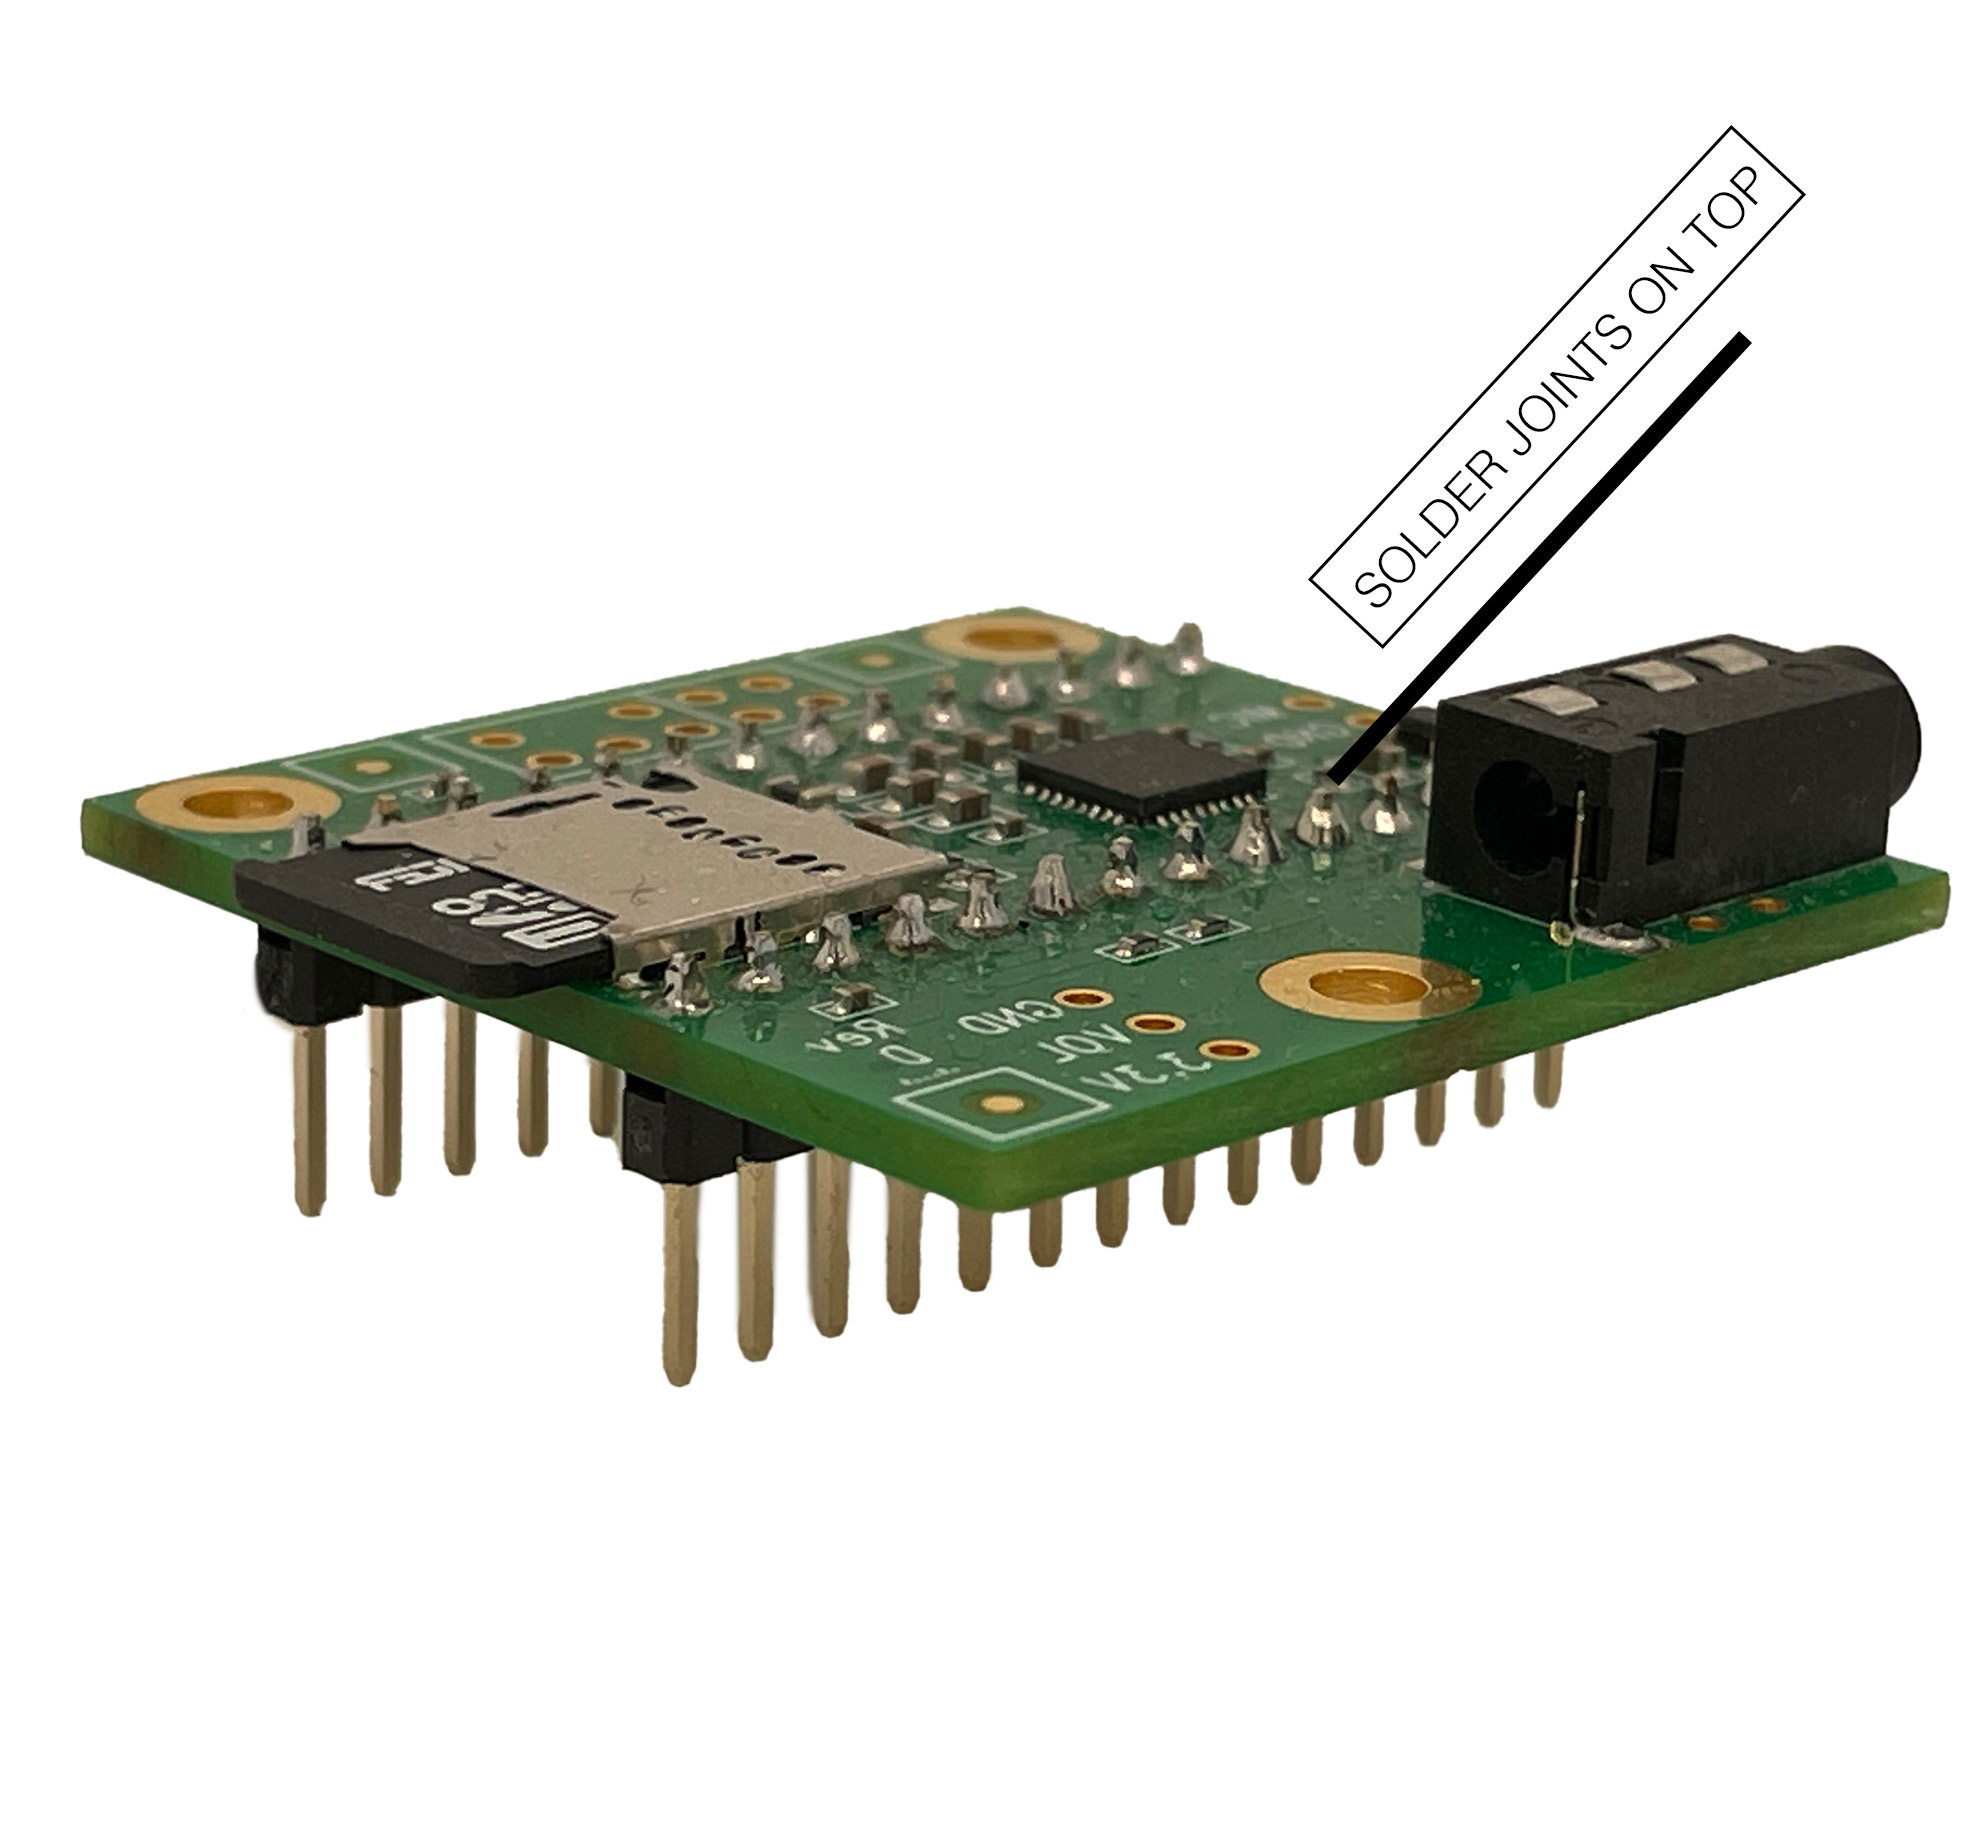
Teensy 4.x Audio Shield with Standard Male Headers
Solder standard 2.54mm male headers to your Teensy 4.x Audio Shield. The short part of the pin should be on the top of the board, with the longer part below. The solder joint goes on top of the board.
Assembly for Prototyping
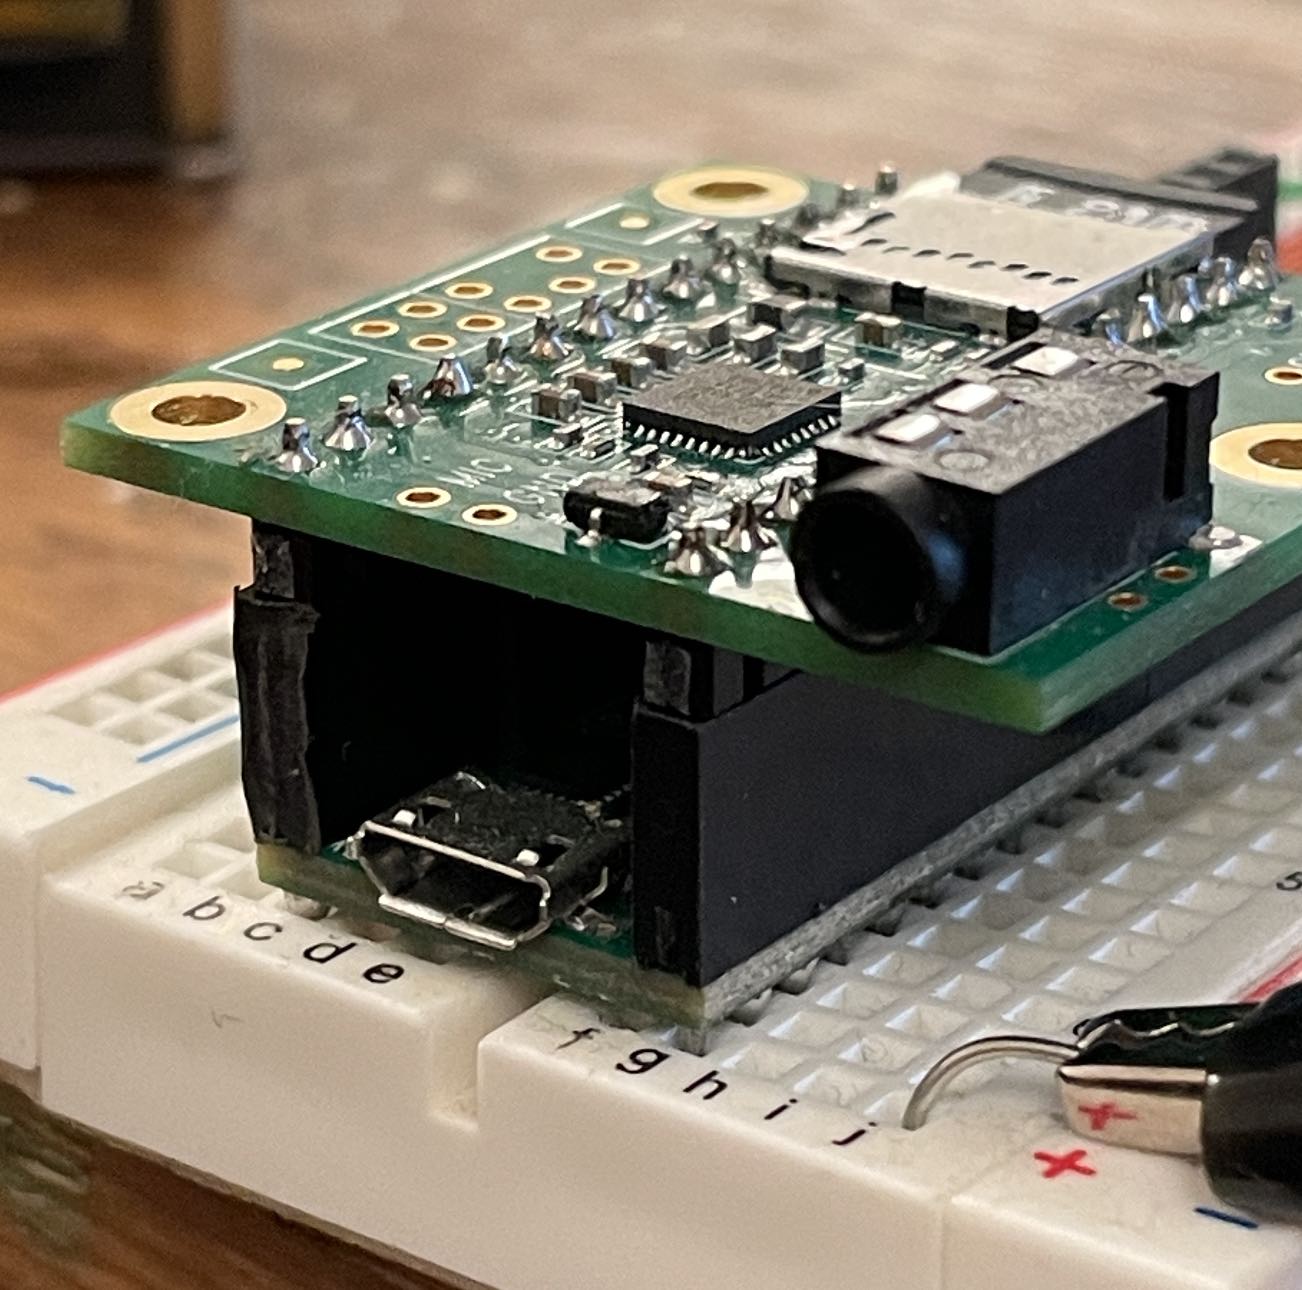
Insert the Teensy 4.x into a breadboard.
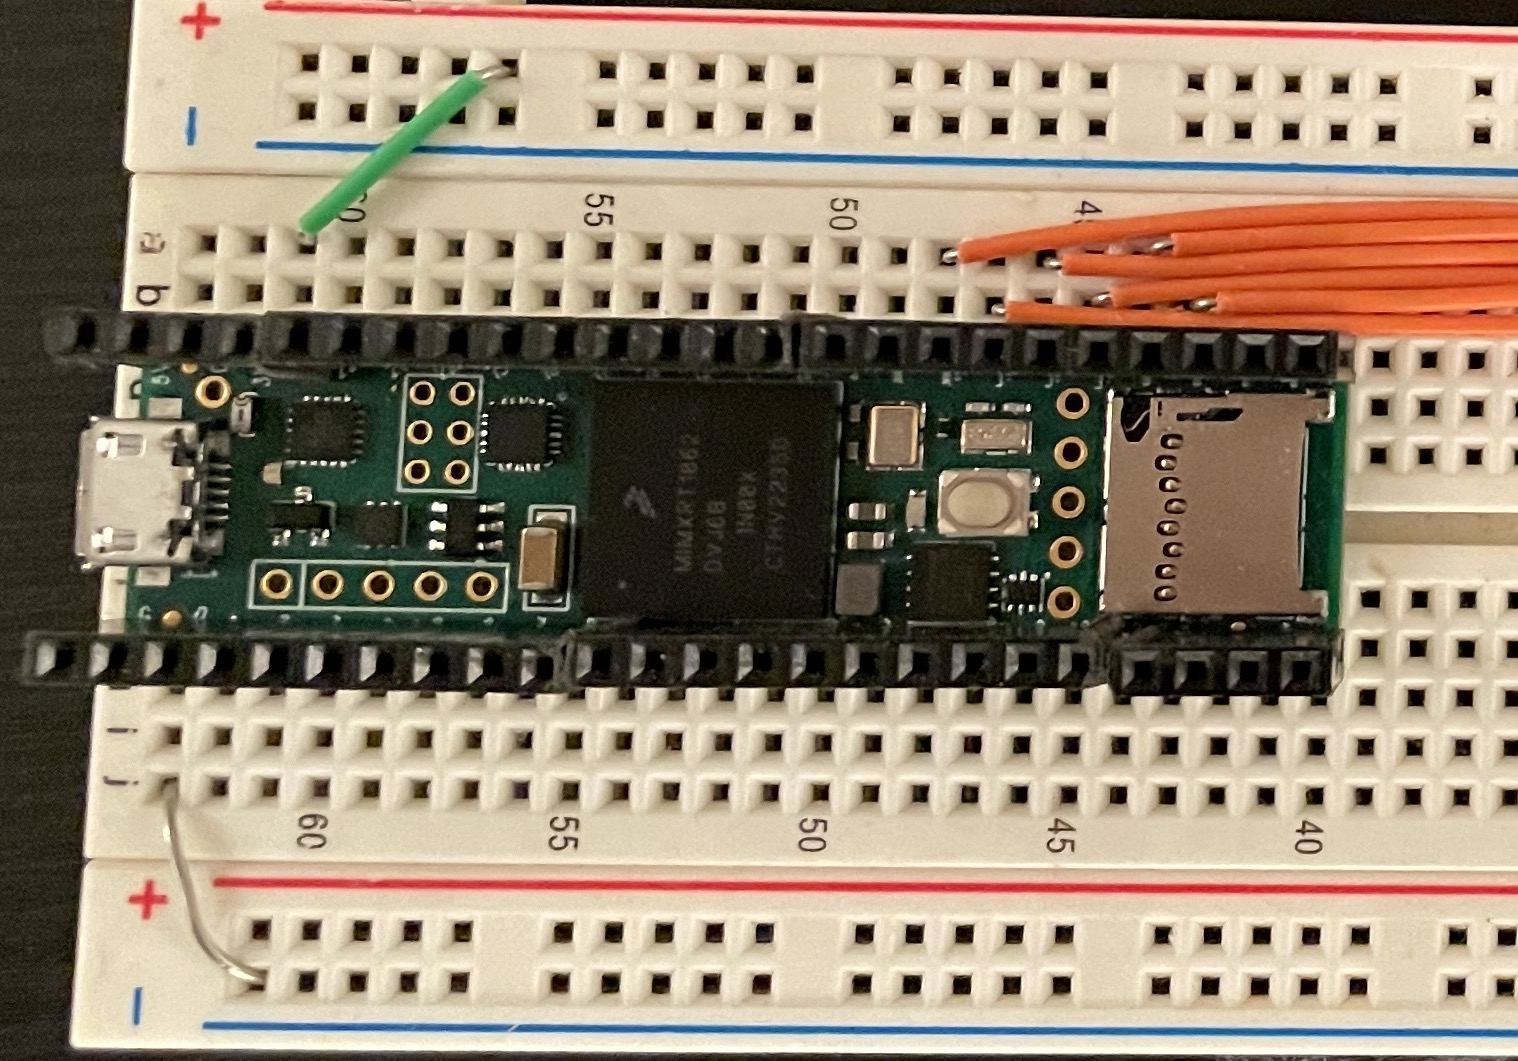
Stack the Audio Shield on top of it. This configuration allows for prototyping on a breadboard while remaining compact, and also leaves the possibility of using the boards in different contexts down the road.